
Endgame Loadout for Defend Your Base From Scary Worm
Mortars, the blue finisher, maxed printers, and a door that still has HP — then gems and crates after the clear, not before.
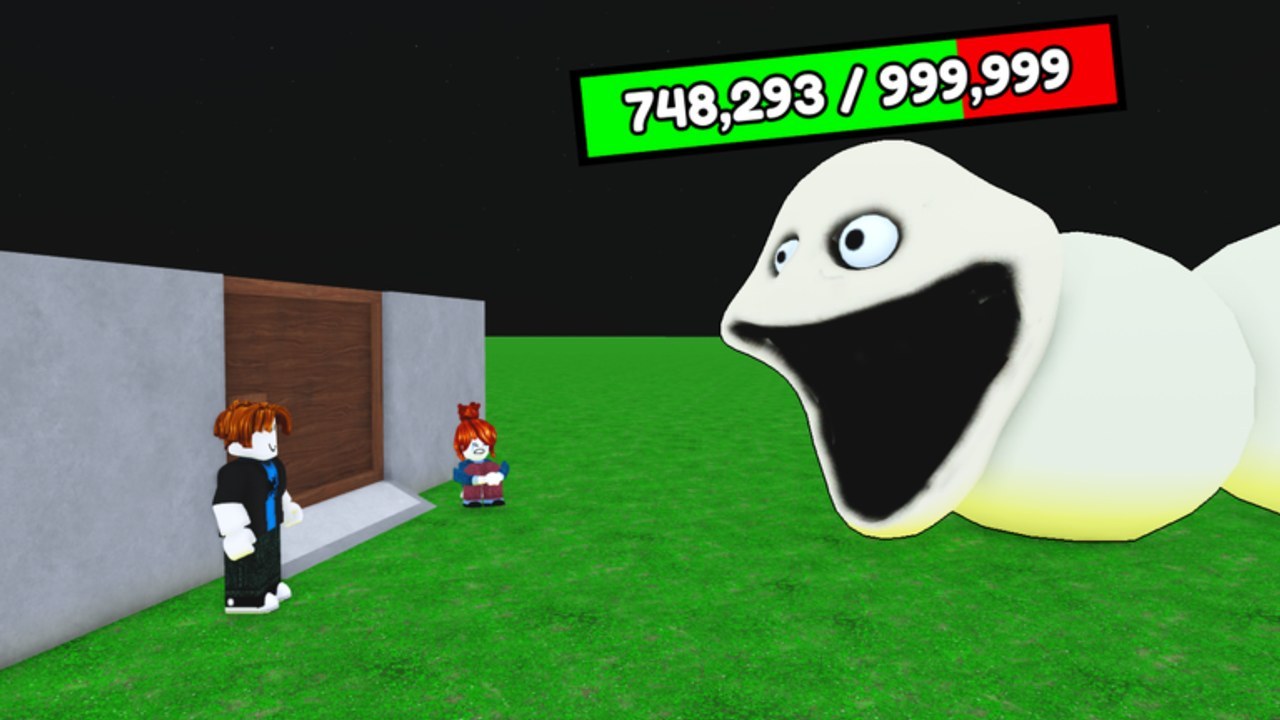
Endgame in Defend Your Base From Scary Worm is not a second map. It is the moment your plot has to outpace a Scary Worm that heals, chews the wooden door, and shows art HP near 999,999. This page is the late half of the Tier List Hub. If you still have 450 cash and no printer, you want the starter ranking instead. If you want letters without a buy sequence, stay on the unit tier list.
Footage of complete difficulty clears — including hard and impossible queues in one long video — converges on the same four pieces: upgraded mortars, the blue high-tier damage unit, maxed money printers, and a door that is being repaired. Gems and exclusive crates show up after that kill, often with a bank of 100+ gems. Treat every cost below as observed, not as a patch note from Evil Worm Simulator.
Mortars: splash that stays on the pad
Mortars are the mid-to-late splash that full clears refuse to sell. Commentators would rather upgrade the mortar they already placed than buy two more at base rank. That is the endgame rule: quality of splash over a second copy you cannot afford to rank. Mortars cover the worm’s body while it sits on the door. Spears do not. If your late plot is still a spear wall, you are not in the endgame loadout yet — you are in a stalled starter that ran out of roles.
Fill pads that actually see the worm path. Empty corners do not splash. A 35-player server can look busy while your personal angle is uncovered; co-op does not fire your mortar for you. Placement detail sits on the turrets page; the rank stays A for splash and mandatory for a clear. Pair them with the wave planner so you are not shopping for the first mortar during the boss countdown.
The blue unit: pay the 16k to win the heal race
The blue high-tier damage unit is the S-tier boss killer, not a wave-clear toy. Full-clear footage calls out a next upgrade around 16,000 and damage around 120, parked specifically because the worm heals and will walk away from a low-HP chase if your DPS is too slow. That 120 is not an official tooltip we can screenshot from a datamine; it is the number spoken on a complete-run recording. Use it as a planning band: if the shop is showing a ~16k blue defender and your printers can stand it, that is the finisher.
Do not buy it instead of a printer. Do not buy it instead of door repair. Buy it when mortars are already online and the worm’s HP bar is bouncing because heal is beating spear ticks. That is also the moment how to beat the worm stops being theory and starts being the click sequence: keep shooting, keep repairing, do not chase the worm off your pad while the door dies behind you.
Maxed printers, then leftover farms
Money printers stay S in the late game because the blue unit and mortar ranks are cash sinks. Footage upgrades printers until they look pink and “double the money each time.” Farms can occupy leftover pads once that printer is rolling; they are not the upgrade you tap while a mortar is still rank 1. If you are choosing between a farm and a mortar rank, take the mortar. If you are choosing between a farm and a printer rank, take the printer. How to farm is the income page; this loadout just refuses to let farms replace the two damage roles.
The door still ends the run
A maxed plot with a dead door is a loss. Endgame HP management is the same 400-band habit from early waves, with uglier numbers: later repairs in footage cost 800, and players still forget the button while staring at the worm. Upgrade the door with spare cash — colored and diamond doors appear in long clears, and one line says upgrades cap around level 28 — but repair is the A-tier action that keeps those upgrades from being a cosmetic coffin. Read how to protect the door before you queue a harder difficulty just because the shop looks complete.
The build checklist at this stage is short on purpose: printer maxing, mortar upgraded, blue unit present or saving, door not in double digits, unused pads filled with something that shoots or prints. If a box is empty, you are not “saving for crates.” You are one chew from a wipe.
Gems and crates after the clear
Full-clear footage banks gems off the win, then talks about exclusive crates — including lines about a 5% firecracker-style roll and a 15% fire-spitter-style roll, plus tesla-style replacements for leftover spears. Those names and percents are one video’s crate UI, not a wiki-certified loot table. Public datamines are still incomplete. The ranking rule is stable anyway: do not roll during the fight. Rare crate units sit in C for planning on the unit sheet. After the worm is dead, spend gems. During the worm, spend cash on the four roles above.
Harder difficulties in the same video are the same plot with less room for a forgotten repair. There are no Forest or Desert maps to farm instead. You queue a tougher worm on the same door. Best builds is the layout companion if you want pad order without rank letters.
Clear the difficulty you queued, leave the door standing, then gamble. That is the entire endgame. Anything that reverses that order — crates first, door last — is how a 16k blue unit watches the worm eat the plot anyway.
Frequently Asked Questions
Quick answers to the most common questions.
What is the endgame loadout in one line?
Maxed printers, upgraded mortars, the ~16k / ~120 blue unit, and a door kept near 400 HP. Gems wait until after the clear — see how to beat the worm.
Should I buy more mortars or upgrade the ones I have?
Footage prefers upgrading the mortar already on the pad. Splash rank beats a second unupgraded copy. Placement notes are on turrets.
When do I buy the blue unit?
When printers can afford a ~16,000 step and the worm’s heal is beating spear damage. It is a boss killer, not a starter — compare roles on the unit tier list.
Do I spend gems during the fight?
No. Full-clear videos roll exclusive crates after the win, often at 100+ gems. During the fight, cash goes to printers, mortars, the blue unit, and door repair.
Are firecracker or tesla units confirmed S tier?
No. They appear as crate or replacement rolls in one complete-run video. This wiki will not publish a fake official loot table. Keep rares as unlabeled C until a datamine exists.
Does endgame change on a 35-player server?
Neighbors can cover extra splash, but they cannot repair your door. Use the build checklist on your own plot before you assume co-op will finish the heal race.