How to Play Defend Your Base From Scary Worm
Claim a base, print cash, repair the door, and kill the worm before the wood hits zero.
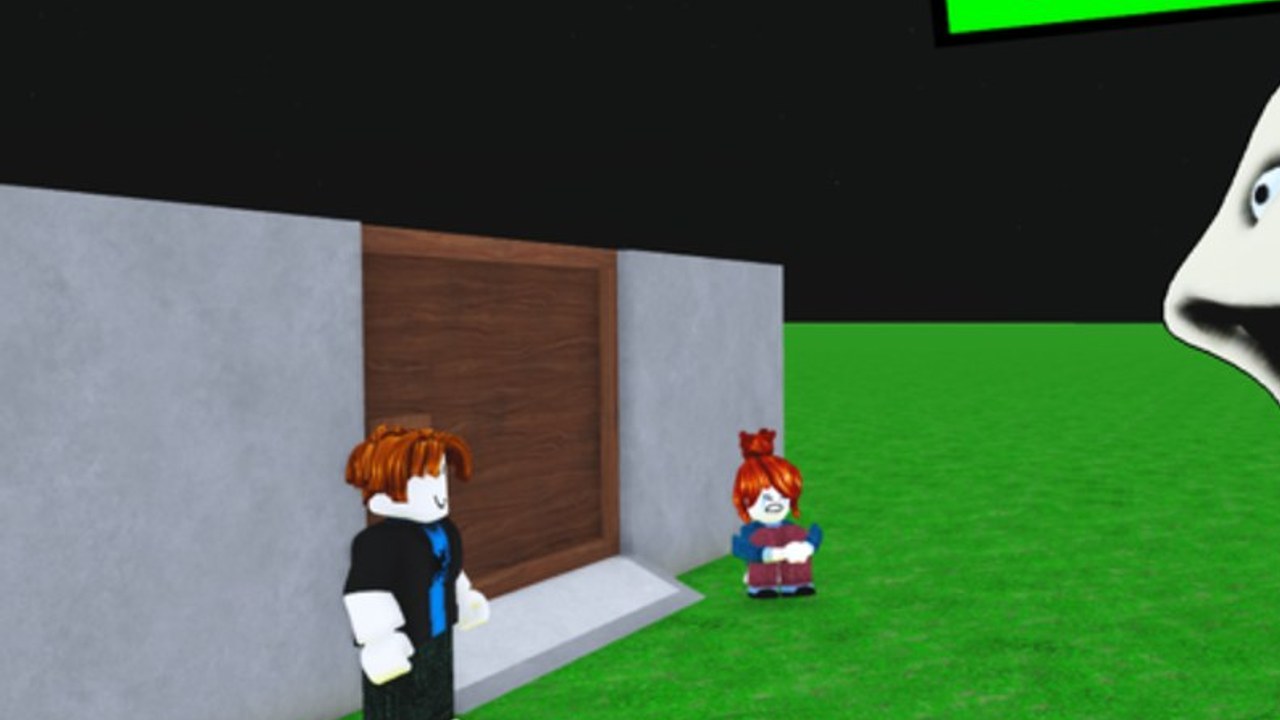
Defend Your Base From Scary Worm is a free Roblox strategy / tower-defense match, not an open world and not a tycoon you AFK. Evil Worm Simulator (TreeTrunk_290) shipped it on 28 February 2026 (place 85070260180613) and patched it on 3 September 2026. The listing is tagged Co-op. Servers hold up to 35 players. You win by reducing the Scary Worm’s health to zero on the difficulty you queued. You lose when the wooden door on your claimed bunker is destroyed, even if your mortars are still firing.
The official how-to-play blurb is three lines: claim a base, build and upgrade units, defeat the Scary Worm. Everything on this page is that loop with the numbers footage actually shows — opening cash near 450, door HP you keep near 400, a boss countdown near 25 seconds, printers and farms as income, spear throwers then mortars then rare and blue units as DPS, gems after a clear, exclusive crates if you bank enough gems.
The core loop
- Join a server and claim an empty plot. The set is night grass, a concrete bunker, and a wooden door. You are defending that door, not the whole map.
- Spend starting cash on economy first (printers / farms) and a little cheap DPS (spear throwers). The shop is an on-screen buy-and-place UI; controls covers how to move, look, and confirm a placement on PC, mobile, and console.
- Waves tick. Cash comes in from printers. You upgrade those printers, then add mortars when the shop allows it.
- The worm commits. A countdown around 25 seconds is your last repair window. The boss HP bar can sit near 748k on the way to 999,999, and the worm heals while it chews.
- If the door hits zero, the match is a loss. If the worm hits zero, you clear that difficulty, take gems, and can roll exclusive crates.
That is the entire game. There are no Forest, Desert, Freezer, or Lava maps here — those belong to Defend Your Base from 67, a different place. Do not import that game’s codes or map unlocks.
Win and lose conditions
Win: the Scary Worm’s health reaches zero while your door is still up. Higher difficulties are separate queues, not extra maps. Footage of a full clear walks Easy through harder modes up to Impossible on the same bunker style, expanding the plot with more printers and more DPS each time.
Lose: the wooden door is gone. Turret count does not save you. Rare units do not save you. A teammate’s maxed plot does not save you if it is not your door. Treat how to protect the door as the fail-condition guide and this page as the rules of the match.
Secondary goals after a win are gems and crates, not a second health bar. Bank gems from clears, then spend them on exclusive crates when you have a pile (full-clear footage waits until well over 100 gems before rolling). Gems are not a substitute for cash during the wave. Cash is printers. Gems are the meta-reward.
Co-op on 35-player servers
Co-op is the listing tag, not a hidden mode. Up to 35 people can be in the server. That does not mean 35 people should stand on one tile. Each player still claims a base. Help looks like:
- One person watches the door and taps repair.
- One person dumps cash into printers and farms.
- Extra hands place mortars and later the expensive blue unit.
Help does not look like crowding a stranger’s shop, blocking the repair prompt, or treating someone else’s 400 HP door as a spectator sport. If you queued with friends, assign repair versus DPS before wave one. If you queued solo, assume nobody will tap your door. Best builds is the layout version of that split.
Voice chat is not supported on the listing. Camera is not supported. You coordinate with Roblox chat and by watching the shared HP bars. Be short: “repairing,” “printer up,” “boss in 25.”
Difficulties, gems, and crates
The game offers multiple difficulties. A complete video clear treats them as a ladder you climb on the same rules: more income, more mortars, tighter door discipline, then rare units and the ~16k blue unit (~120 damage) when the shop is no longer hungry. Do not jump a difficulty just because a crate looked shiny. Jump when printers already fund repairs and DPS at the same time.
After a clear, gems drop. Exclusive crates are the sink for those gems, not for your wave cash. Open them after the worm is dead. Rolling mid-wave is how people miss a door tick. There are no active promo codes as of September 2026; the experience still advertises like-plus-join group rewards, which is the only freebie you should chase. Track that on the codes hub, not on random screenshots.
Shop contents include printers, farms, spear throwers, mortars, rare units, and late blue units. Rankings live on the tier list and the units hub. This page only cares that you buy in the order the loop demands: economy → cheap DPS → door repair always → mortars → rares / blue.
How a healthy match spends time
Minutes 0–3: claim, printer, one or two spears, stand on the door. See getting started.
Minutes 3–10: upgrade the printer, add spears only if the lane is leaking, repair every tick. How to farm is the cash math.
Mid game: mortars go down, farms stay behind the bunker, door stays near 400. Wave 13 is where dead economies collapse.
Boss window: 25-second countdown, repair first, shoot second. The worm heals; your DPS has to outrun both chew and heal.
After the bar hits zero: take gems, choose the next difficulty or open crates, expand the plot instead of resetting your brain. How to beat the worm is the full-clear version of that climb.
What “playing well” looks like
You always know the door number. You always know whether the next purchase is income or damage. You never stand in the chew lane. You never spend the last coins on a vanity unit while the wood is ticking. You never paste a code from another worm game. You never assume a 35-player server will babysit your plot.
If that list feels obvious, you are ready for layouts and boss strategy. If any line is fuzzy, stay on this page until you can explain win, lose, and why a printer is part of “how to play” rather than a side building. Then open the Guides Hub and pick the article that matches the part of the loop you are failing — door, farm, or full clear.
Playing this game is a three-button job: claim the bunker, keep printers alive, and answer the repair prompt before the wooden door writes your loss. Difficulties, gems, and exclusive crates are what you do with a win, not how you avoid a wipe.
Frequently Asked Questions
Quick answers to the most common questions.
How do I win a match?
Reduce the Scary Worm to zero HP while the wooden door is still up. How to beat the worm is the full-clear plan for every difficulty.
How do I lose?
The wooden door hits zero. Repair it and keep it near 400 HP. Read how to protect the door before you buy more units.
Can I play co-op with friends?
Yes. Servers hold up to 35 players and the listing is tagged Co-op. Claim plots next to each other and split repair versus DPS as in best builds.
What are gems and exclusive crates for?
Gems are the post-clear currency. Bank them, then roll exclusive crates after the worm is dead — not during the 25-second boss countdown.
Where are movement and shop controls listed?
On the controls page. This experience uses standard Roblox move/camera plus a shop GUI and a door repair prompt.
Do printers count as part of how to play, or are they optional?
They are the loop. Without how to farm income, you cannot repair and upgrade through wave 13.